There was a time when deploying a website felt like performing a sacred ritual—push code, pray, refresh, and hope nothing explodes. I knew only pain—renting a server, dockerizing, setting up a proxy, configuring SSL certificates, and managing monitoring—you name it! Then came Vercel and Netlify, making life easier. But what if you want more control without breaking the bank? That’s where Coolify comes in.
Why I Needed a Change?
Earlier, my frontend was on Vercel or Netlify, while the backend was hosted elsewhere. Managing deployments across multiple platforms felt messy. With Coolify, everything—frontend, backend, and even databases—is in one place, making deployments seamless and hassle-free.
WTF is Coolify?
Think of Coolify as your personal Netlify or Vercel, but on your own server. It’s open-source, lets you deploy apps with ease, automates deployments from Git, and gives you full control—without the hassle of setting up everything from scratch.
- Administrator dashboard to manage projects.
- Per-project deployment configurations for flexibility.
- Connects to Git repositories for pull request deployments.
- Automatic SSL certification management through Let’s Encrypt.
- and a bunch more stuff! 🚀
My Coolify Moment
My Coolify moment happened right then and there.
With little effort, I became the CEO of my own Vercel-like, fully-featured deployment platform.
Deploying a PostgreSQL instance took three clicks and 30 seconds. When it was time to deploy my app, I pointed Coolify to my GitHub repository and specified the domain.
After a bit of fiddling, my app was deployed with a database, hourly backups, and a Caddy proxy. Just like that.
Once you get the hang of it, deploying any app that is either dockerized or Nixpacks-compatible is a breeze.
This alone makes me talk about Coolify with excitement. But I believe there is more to this story.
Setting up a Server
First things first—we need a server. I went with Hostinger’s KVM2 VPS because it offers a good balance of performance and affordability. Compared to other cloud providers like AWS or DigitalOcean, I found Hostinger’s setup more straightforward without getting lost in a sea of configurations.
Of course, choosing the right provider depends on your needs. Some offer better pricing, while others provide more scalability. But for my use case—self-hosted deployments with Coolify—Hostinger’s VPS was a solid choice.
Installing Coolify
I followed the self-hosted installation instructions on a fresh Ubuntu 24.04 server:
$ curl -fsSL https://cdn.coollabs.io/coolify/install.sh | bash
-------------
Welcome to Coolify v4 beta installer!
This script will install everything for you.
Source code: https://github.com/coollabsio/coolify/blob/main/scripts/install.sh
-------------
OS: ubuntu 24.04
Coolify version: 4.0.0-beta.325
-------------
Installing required packages...
... roughly two minutes and a jillion lines later ...
Waiting for 20 seconds for Coolify to be ready...
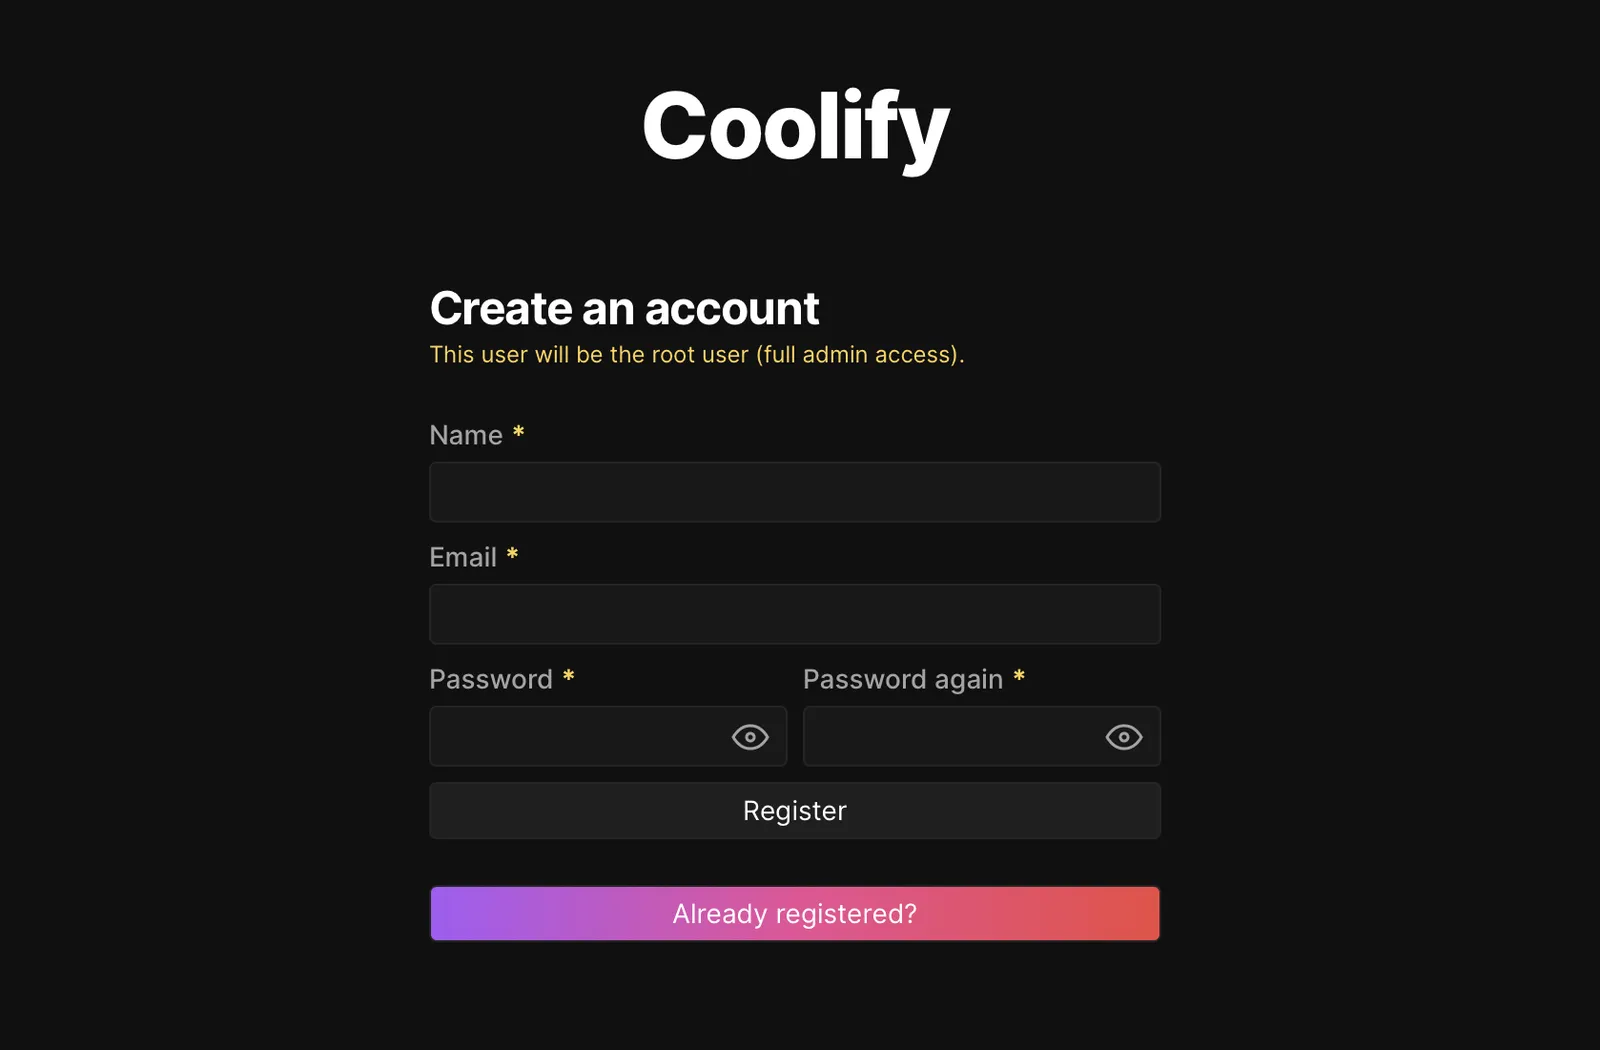
Please visit http://[ip-address]:8000 to get started.
Congratulations! Your Coolify instance is ready to use.
Amazingly enough, there it was!
 The beginning
After a brief, friendly onboarding process, the dashboard:
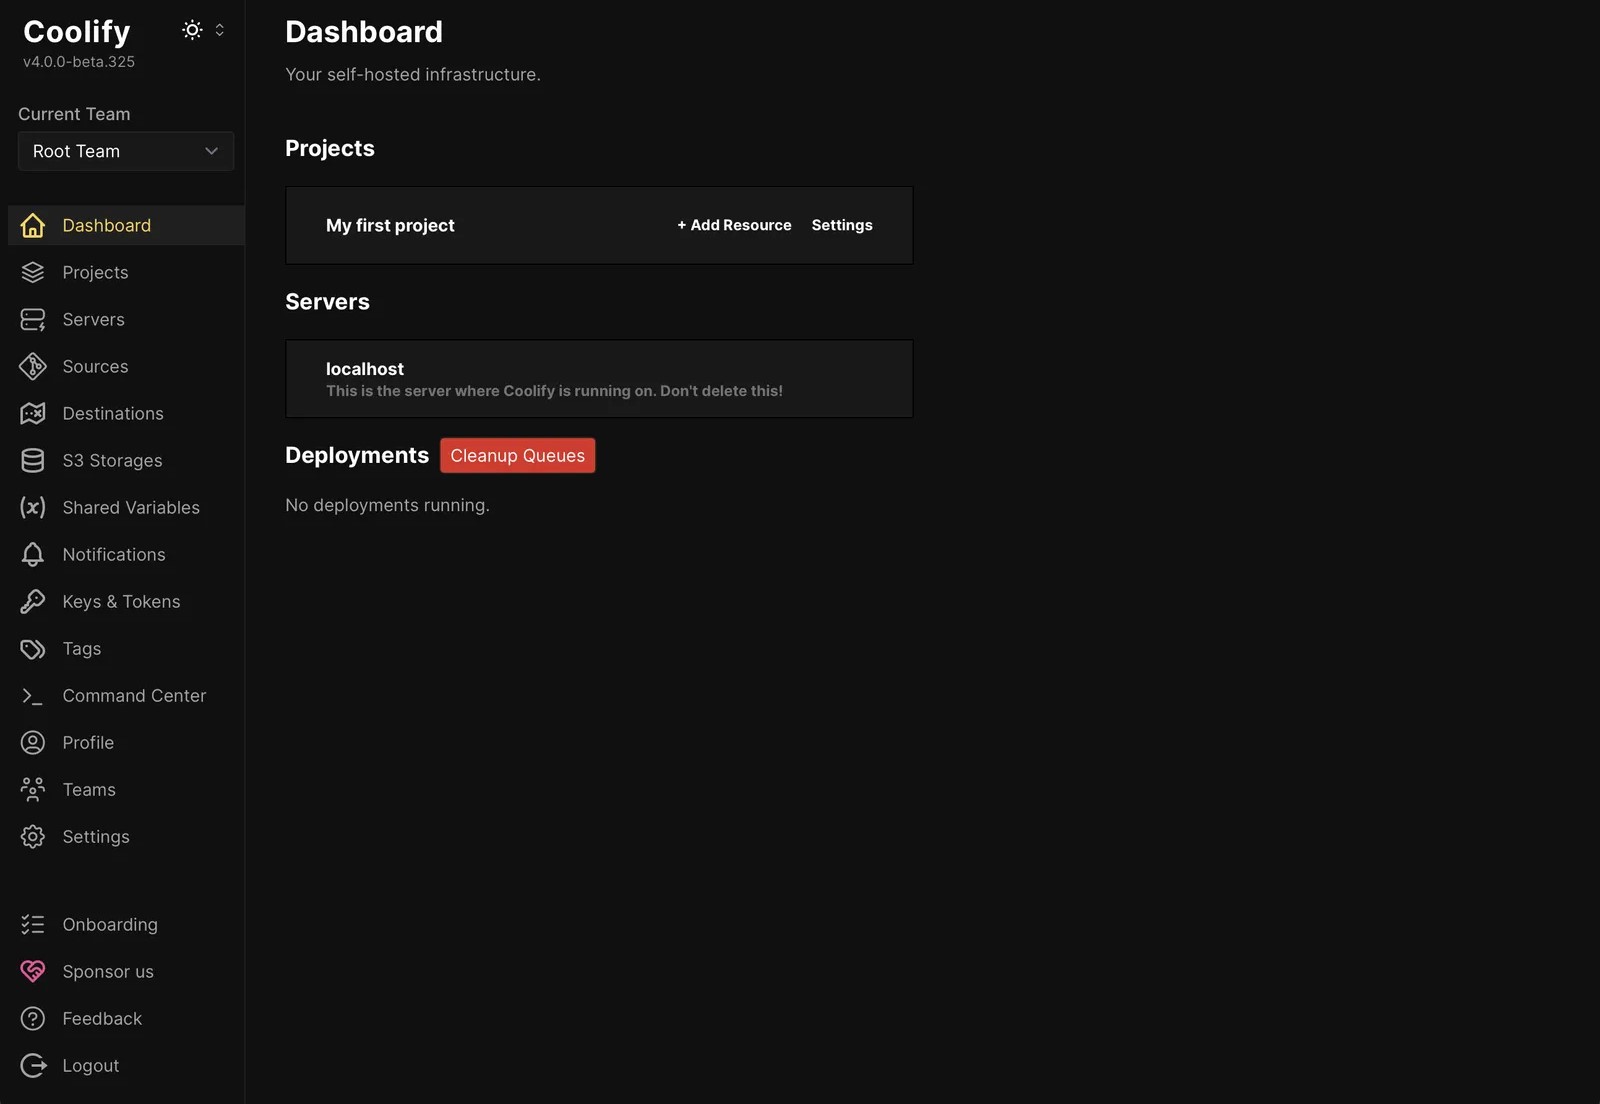 Empty(ish) Coolify dashboard after the short onboarding process.
With Coolify up and running, it was time to put it to the test. The dashboard was clean, the setup was smooth—now all that was left was to deploy something.
Deploying a New Resource
Once the setup was complete, it was time to deploy something. Coolify makes this easy with a clean, structured interface.
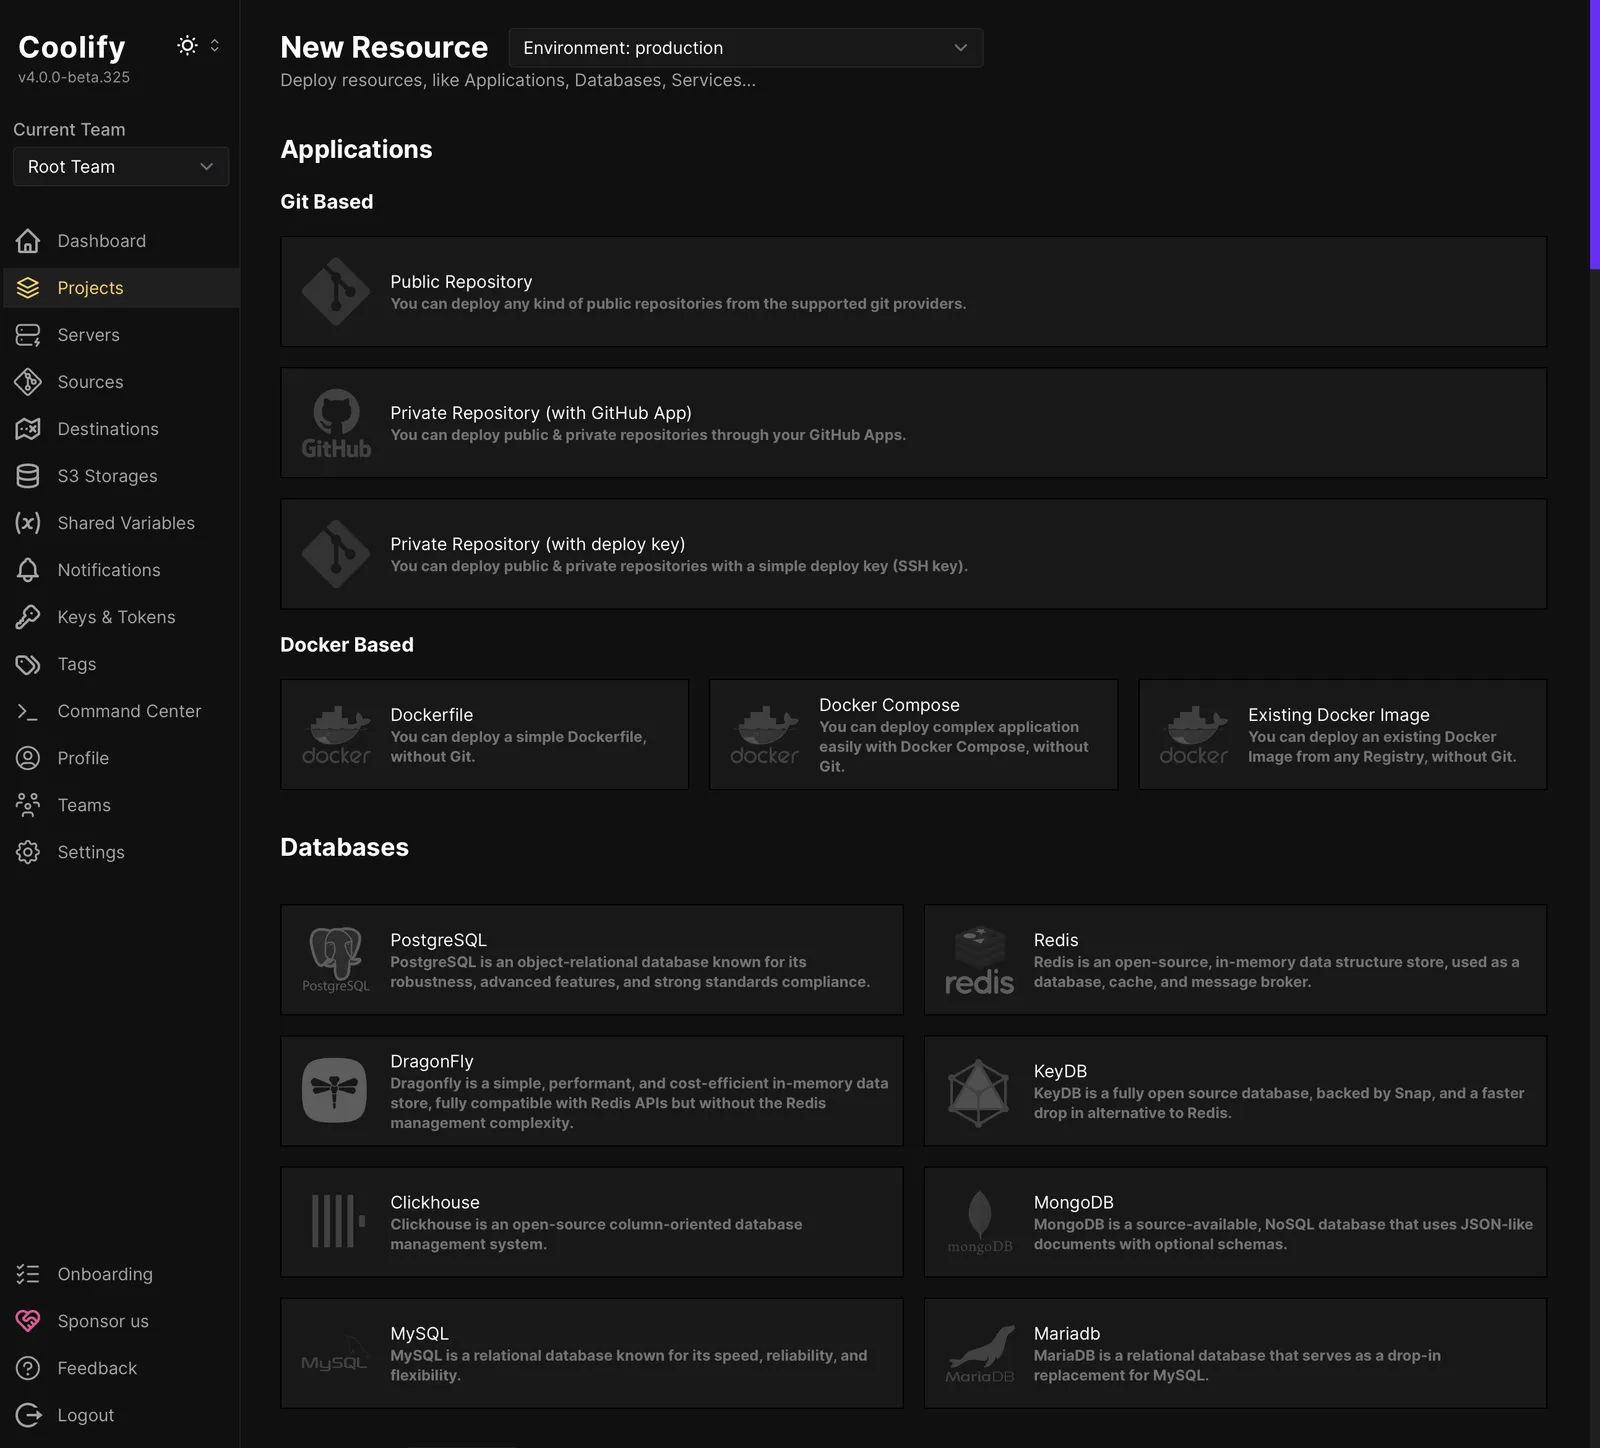 New resource options, which are followed by (not pictured) a longer, searchable list of services.
You can add applications in a few ways:
Via Git
- From a public Git repository.
- From a private Git repository with an SSH deploy key.
Via Docker
- Using a pasted-in Dockerfile to define your app’s environment.
- Using a Docker Compose file, pasted directly into Coolify.
- Deploying an existing Docker image from any registry.
If your Git-based project includes a Dockerfile or Docker Compose file, Coolify allows you to specify its location in the repository—it defaults to the project root but can be adjusted as needed.
This is how I deployed the Astro frontend of my church website.
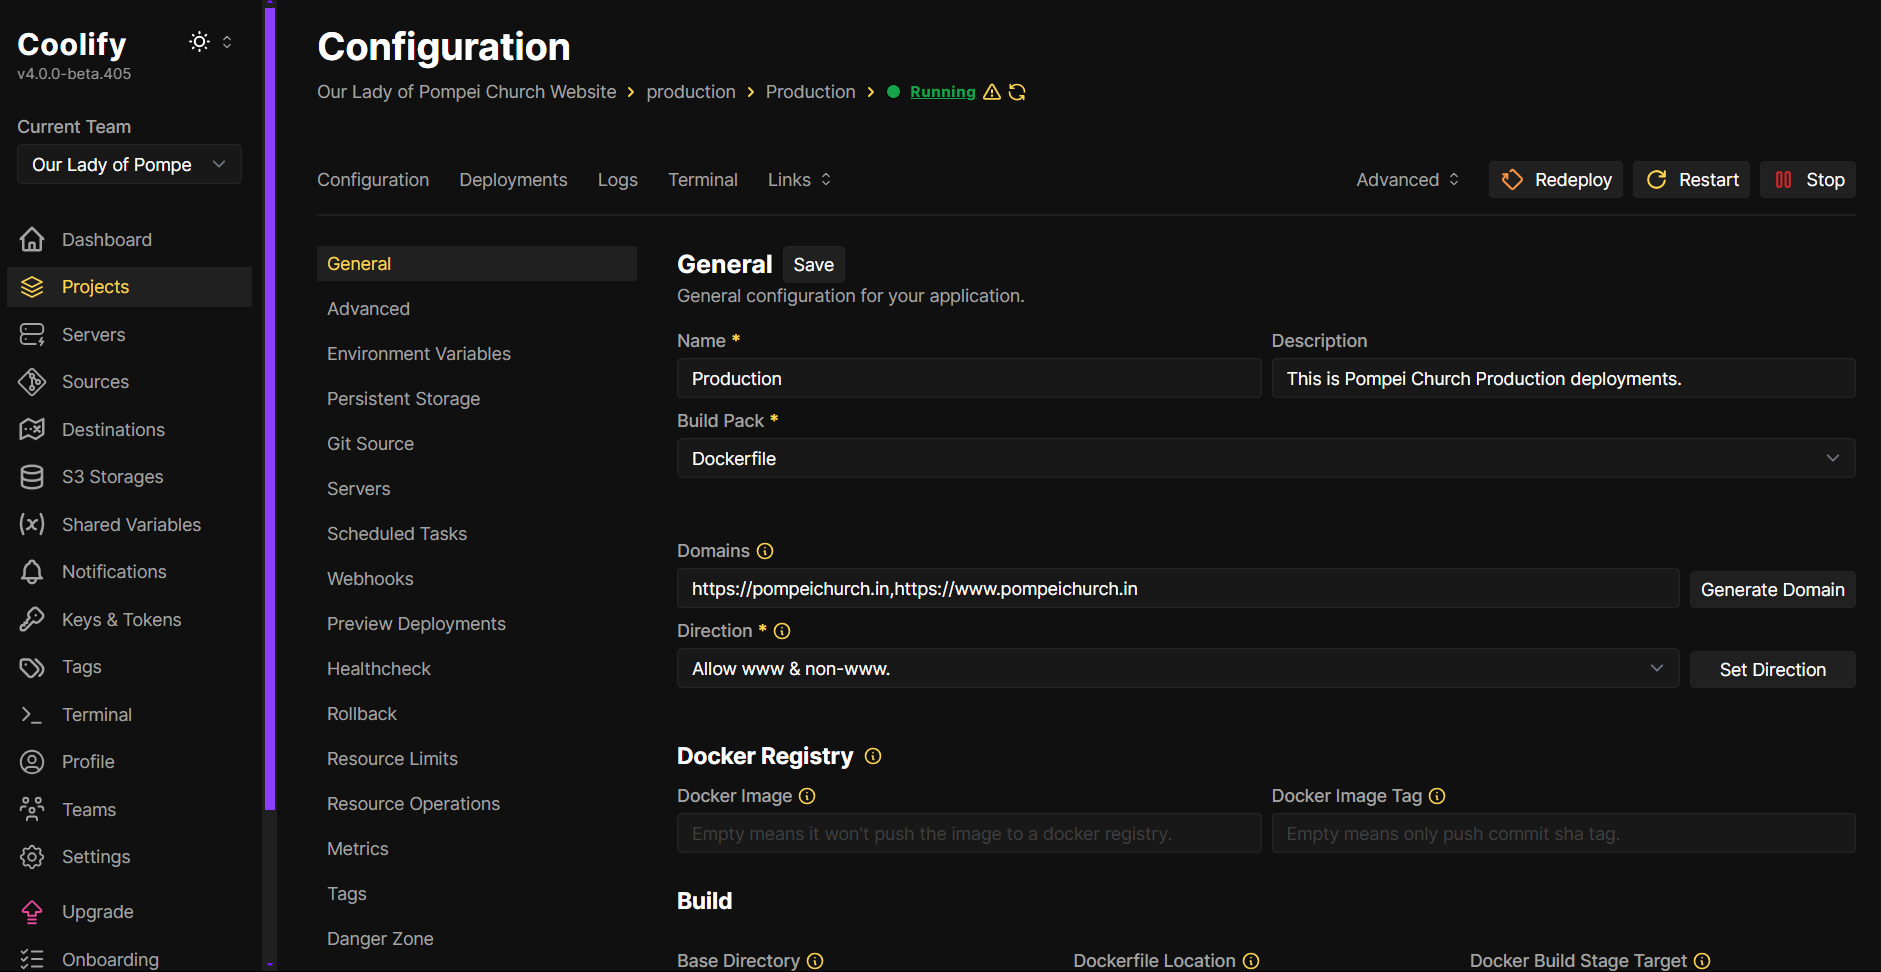
Production deployment setup for www.pompeichurch.in in Coolify
For the frontend of www.pompeichurch.in, I created a new resource in Coolify and selected Dockerfile as the build pack since my Astro project is already dockerized.
Coolify’s interface made the rest super easy. I didn’t need to manually set up any Docker registry since the build happens directly on the server.
Coolify uses Caddy as its built-in reverse proxy—which means you get automatic HTTPS out of the box. No fiddling with Certbot, no manually renewing SSL certificates. Just add your domain, and Caddy handles the rest.
As soon as I hit Deploy, Coolify configured the domain, issued the SSL certificate via Let’s Encrypt, and routed everything through Caddy.
It felt almost criminal how easy it was.
Spinning Up a Database
Coolify also makes database provisioning stupidly simple. I needed PostgreSQL for my backend, and here’s all it took:
- Headed to New Resource → Database
- Selected PostgreSQL from the list of available databases
- Named the instance and hit Create
- Boom. Up and running in seconds.
Coolify even handles:
- Automatic backups (you choose the schedule)
- Exposing ports securely (if needed)
- One-click access to tools like pgAdmin via built-in web UIs
It felt way easier than setting it up manually with Docker or a cloud service.
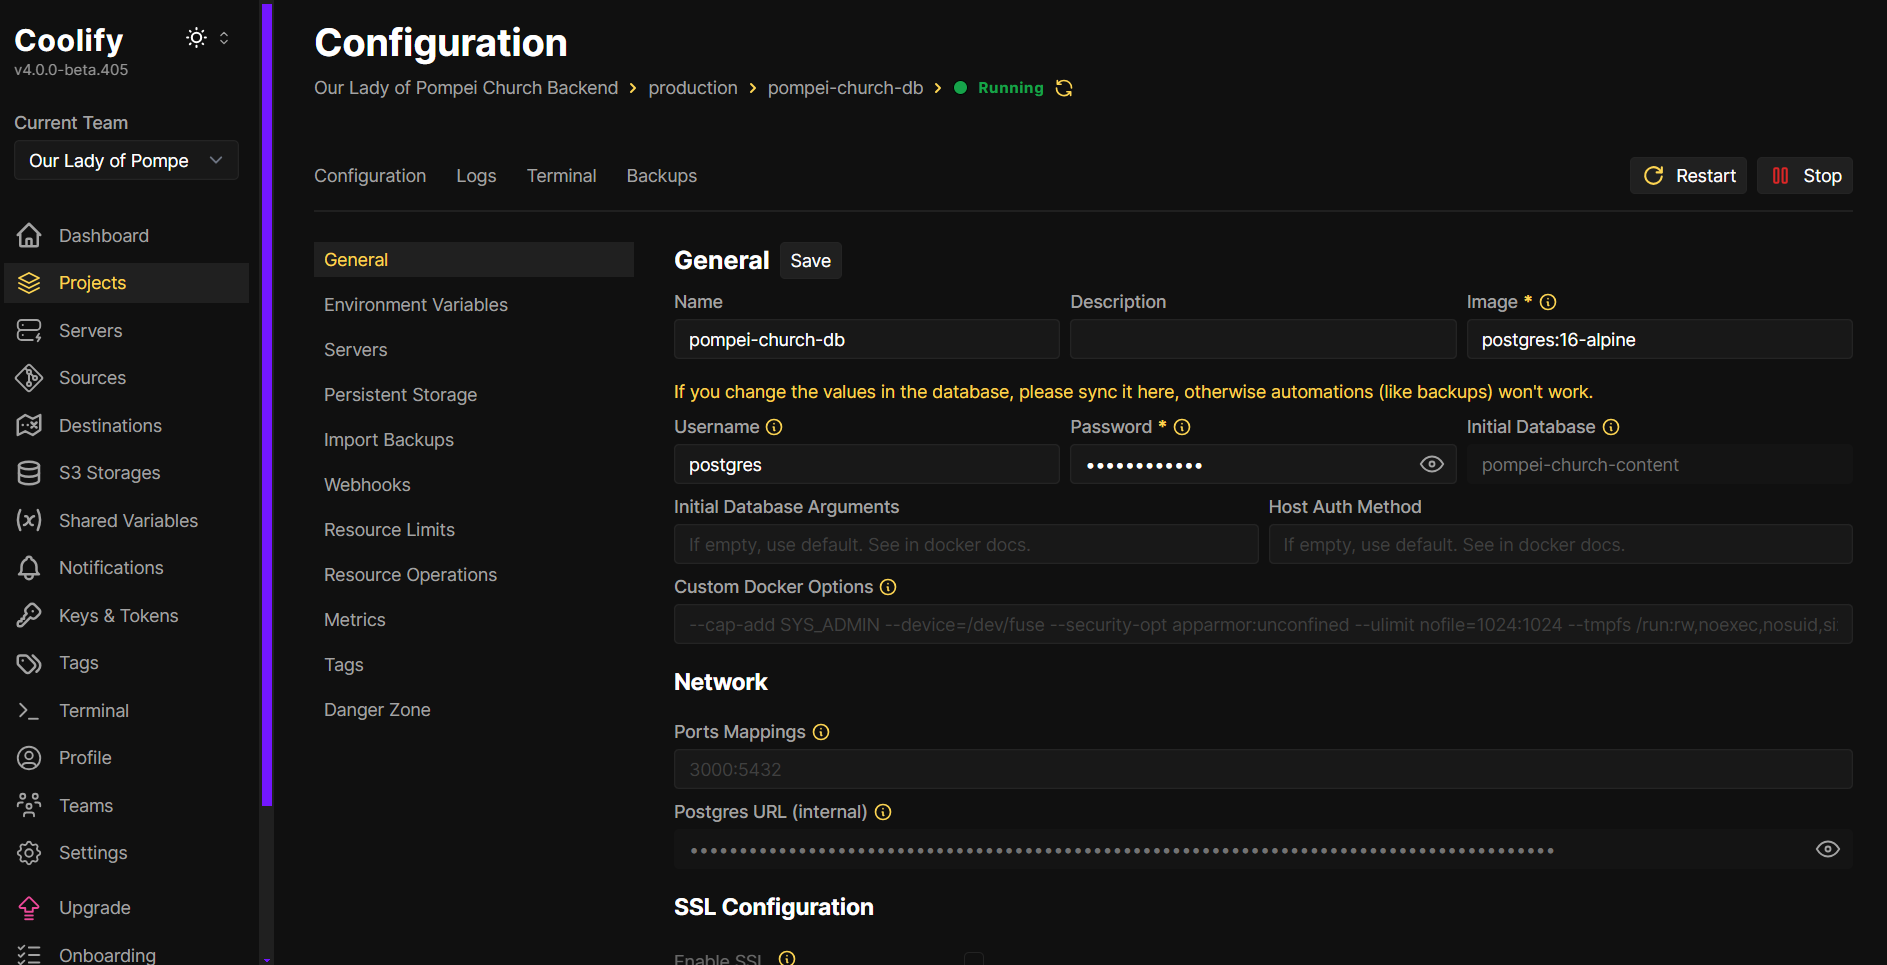
PostgreSQL configuration for pompei-church-db running in Coolify
Managing Domains
Since Coolify uses Caddy under the hood, Let’s Encrypt SSL is already baked in—no need to mess with certs. Just assign your domain and HTTPS is live.
Originally, the domain was bought on GoDaddy, and it’s still my registrar, but I’ve pointed the domain’s nameservers to Cloudflare to manage DNS.
So now, Cloudflare handles all DNS settings, while GoDaddy just holds the domain registration. Best of both worlds!
All I had to do was:
- Change the nameservers in GoDaddy to the ones Cloudflare gave me
- Point my A record to the server’s IP
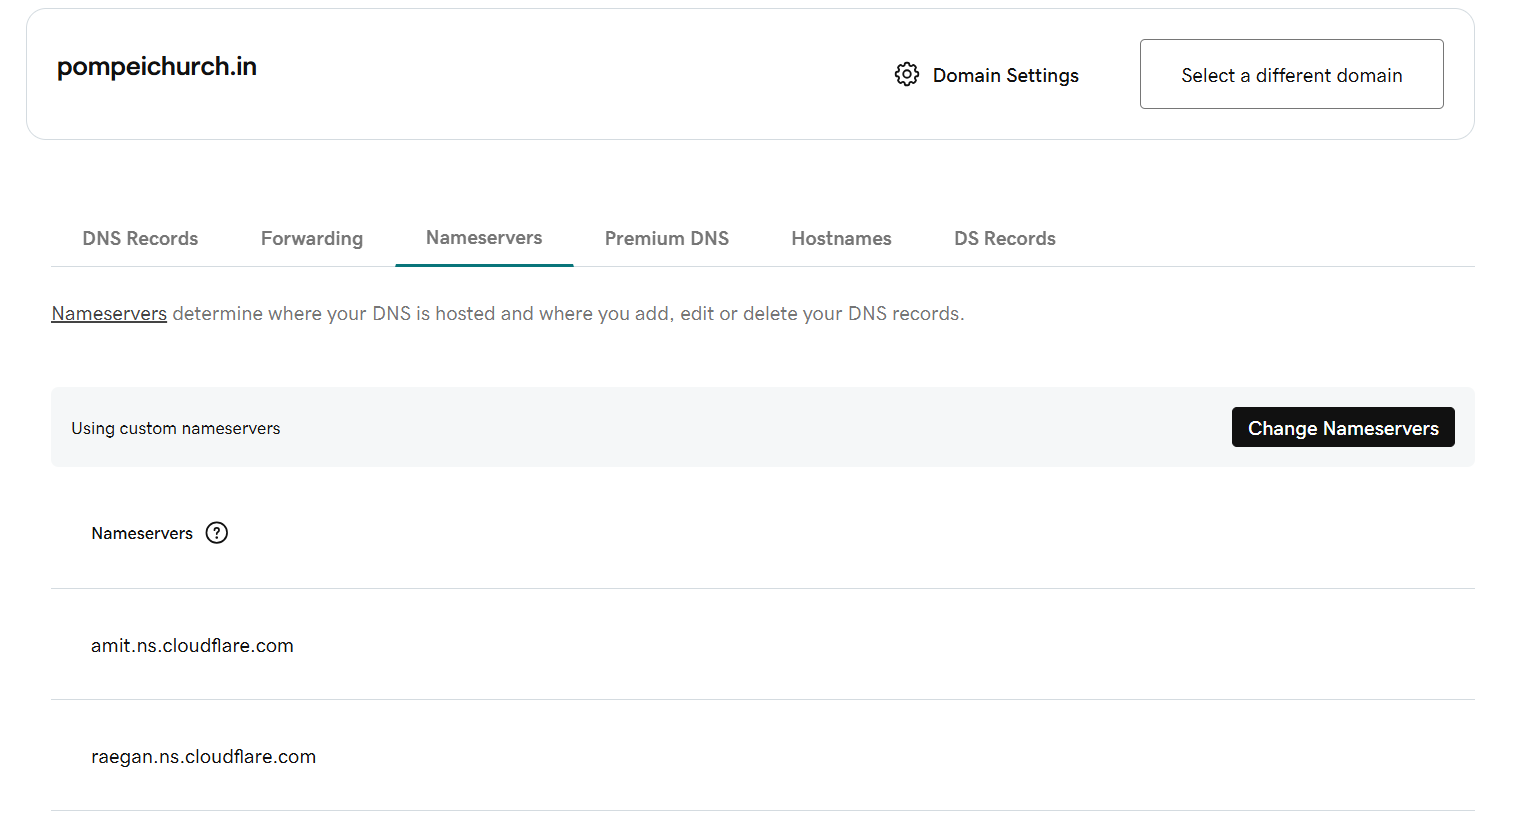
Domain registered on GoDaddy, but DNS handled via Cloudflare.
Done. Fast DNS resolution + Cloudflare goodness + auto SSL = happy dev 😌
Setting Up the Firewall
Since the server runs on a Hostinger VPS (KVM 2), I handled the firewall configuration from the Hostinger dashboard itself.
I allowed:
- SSH (22) – so I can access the server remotely.
- HTTP (80) – to serve the website over plain HTTP (mainly for redirect).
- HTTPS (443) – for secure traffic via SSL (thanks to Caddy + Let’s Encrypt).
Everything else? Blocked.
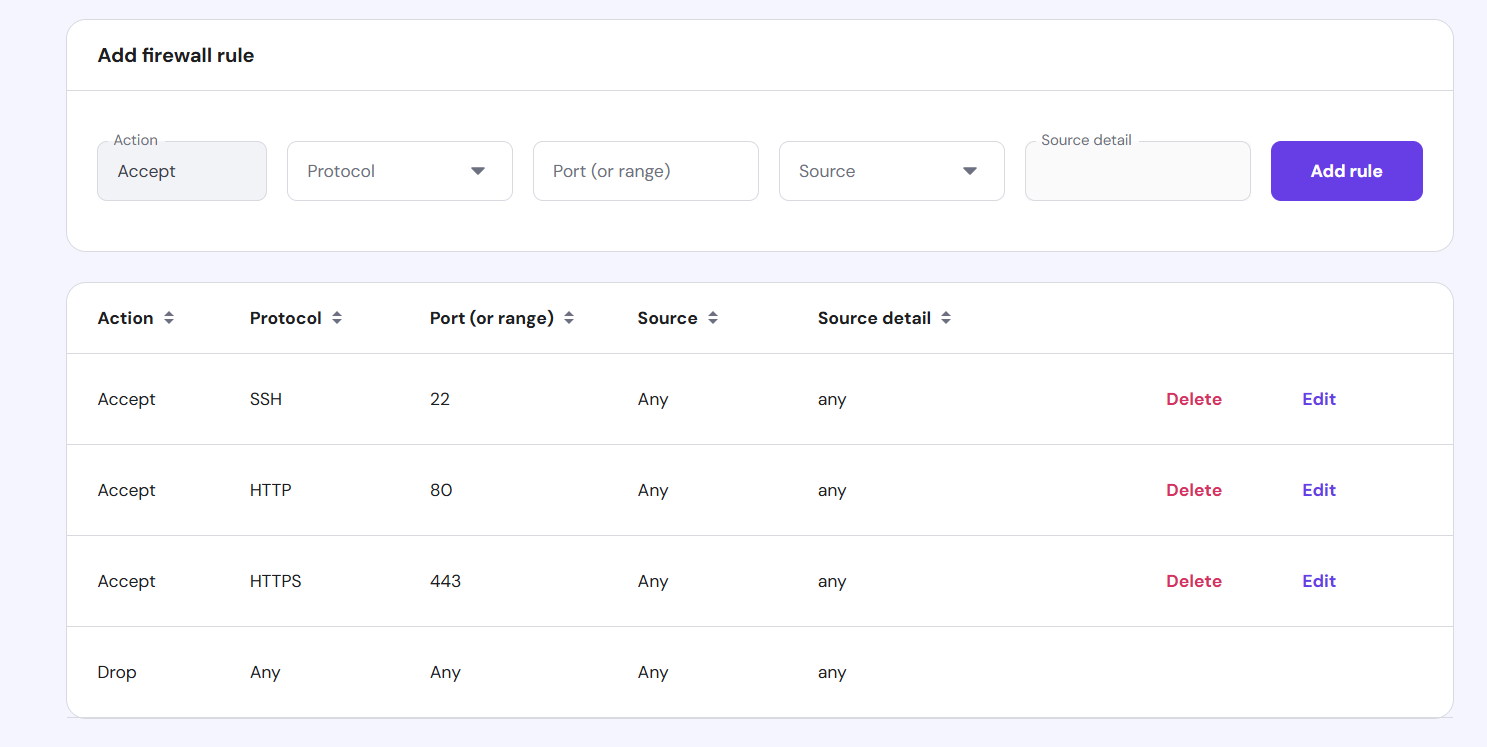
Only the holy trinity: SSH, HTTP, and HTTPS. Everything else gets dropped like a bad habit.
You may need to adjust the firewall for your use-case, but keeping it slim and locked down is a good step towards server security.
CI/CD Without the Drama
I set up automatic deployments via Coolify, so every time I push to GitHub, the latest changes are magically deployed 🚀
Coolify lets you add GitHub as a Source, where you connect your repo using a GitHub App. Once done, you can select the repo while setting up a project and enable auto-deploy on push.
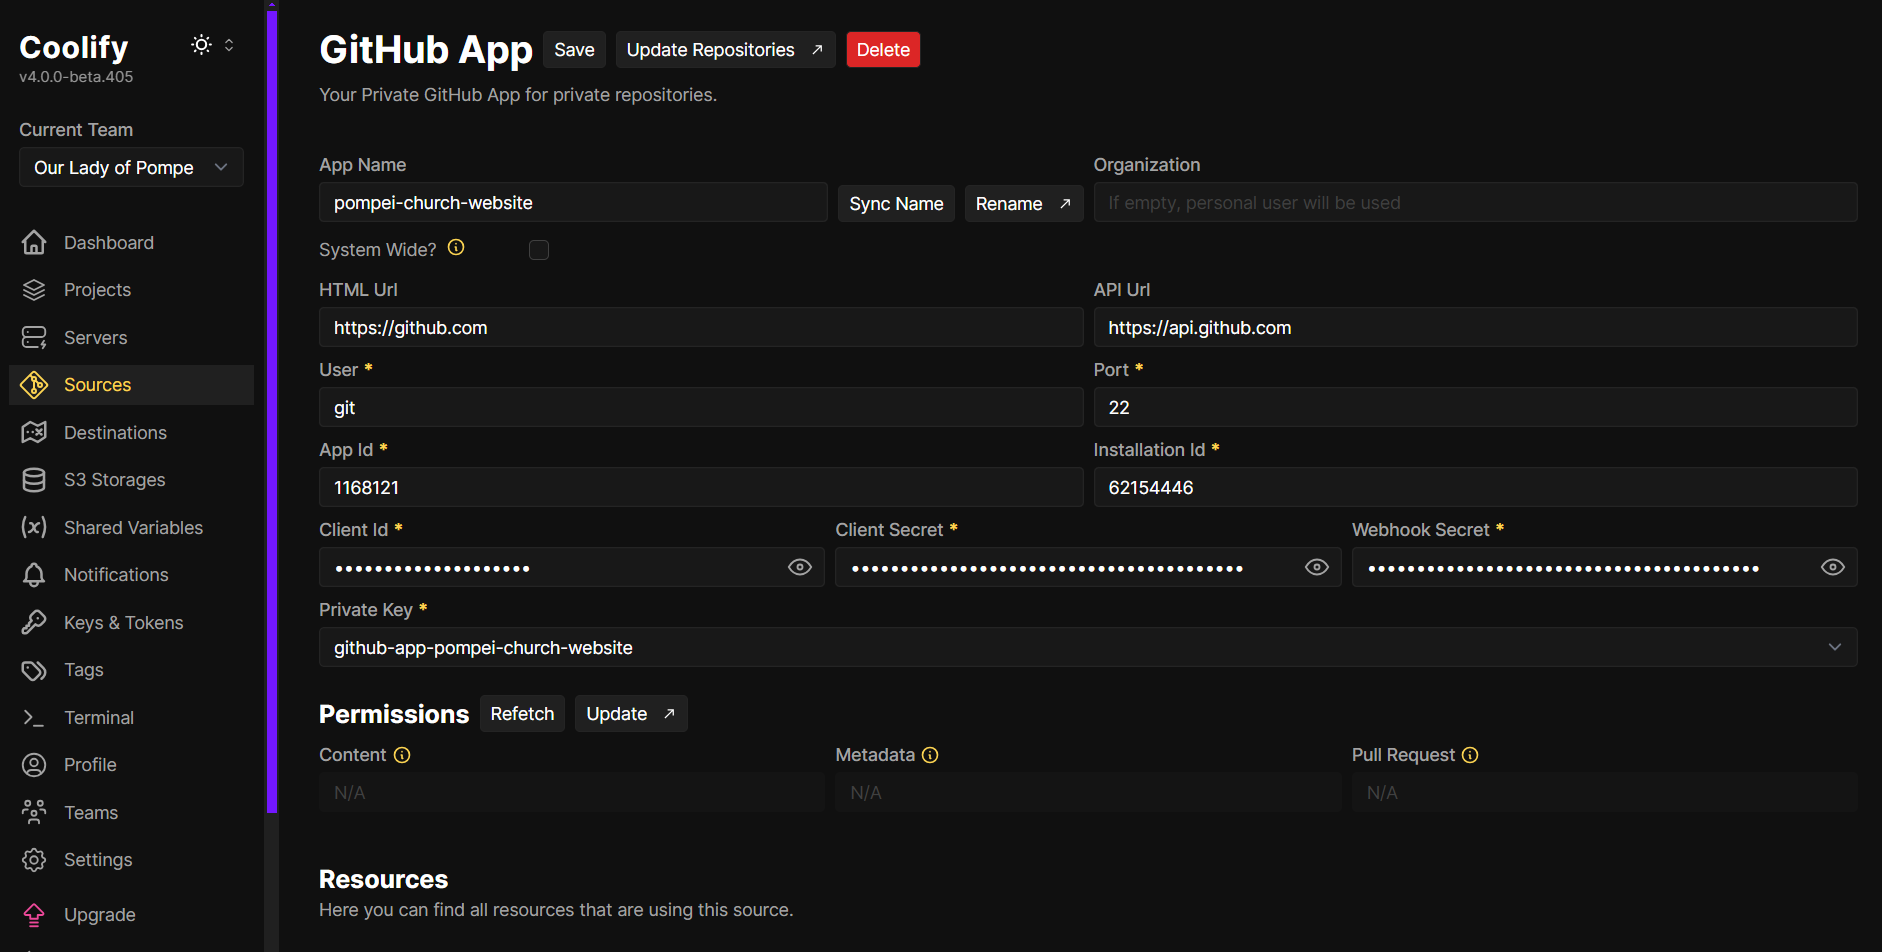 One-time setup, lifetime laziness.
This setup makes sure both the FE and the BE stay in sync with the codebase — no manual FTP-ing, no “did I deploy that?” moments.
Final Thoughts 🧠
Setting up this deploy flow with Coolify has been a game-changer. It’s simple, efficient, and gives me full control over both frontend and backend—no weird config files or DevOps rabbit holes. Just push code and chug beer 🍺
If you’re tired of platform limits or just want to geek out with full control, give Coolify a shot. It’s fun, fast, and surprisingly painless.
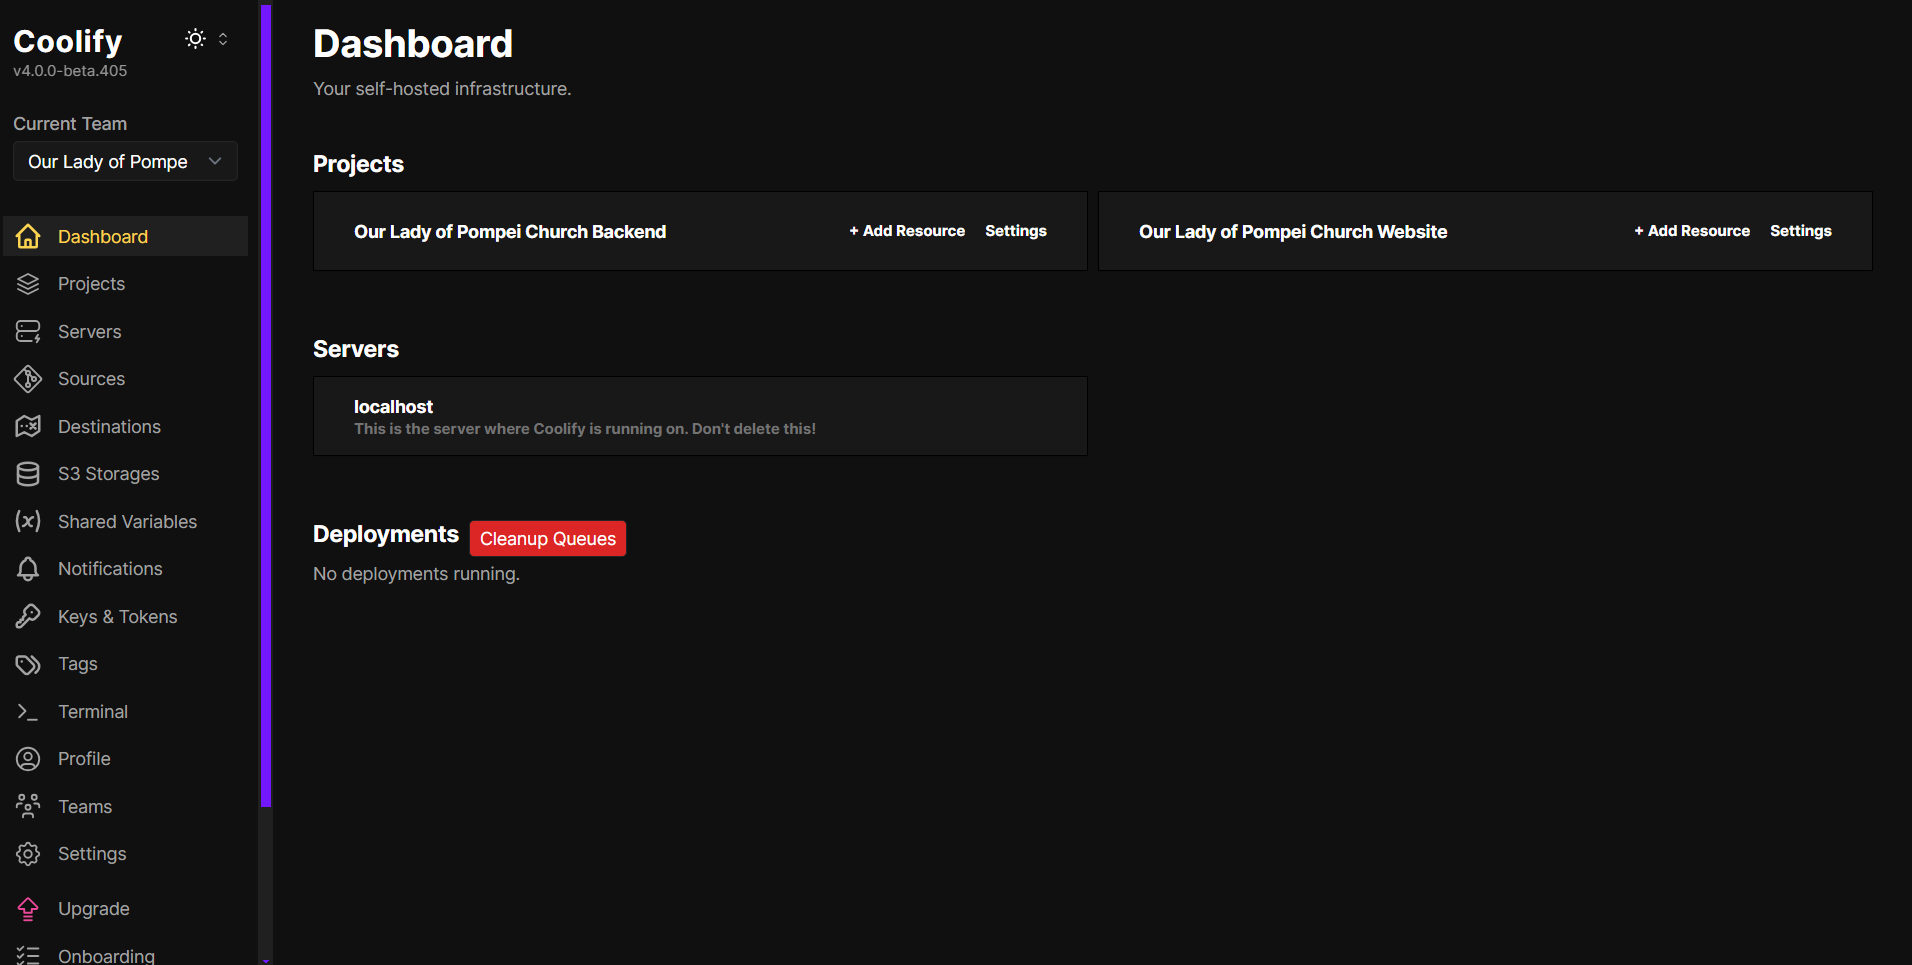 My dashboard has stuff in it now!
This is just the beginning. I’m excited to keep building, experimenting, and seeing where this self-hosted adventure leads.
If you’re looking to get started with Coolify, the best place to start is likely this video along with their website.